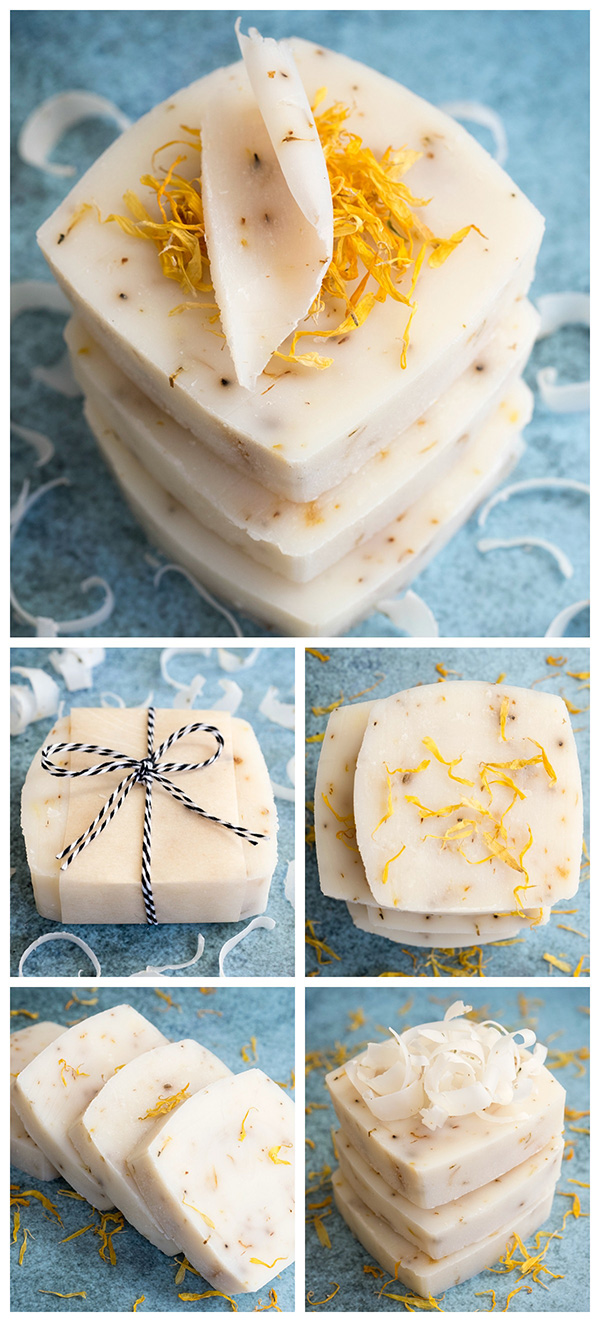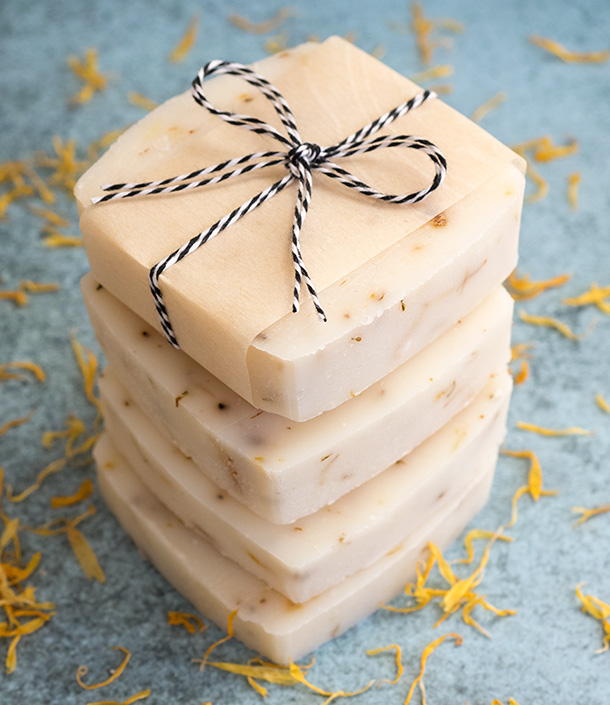
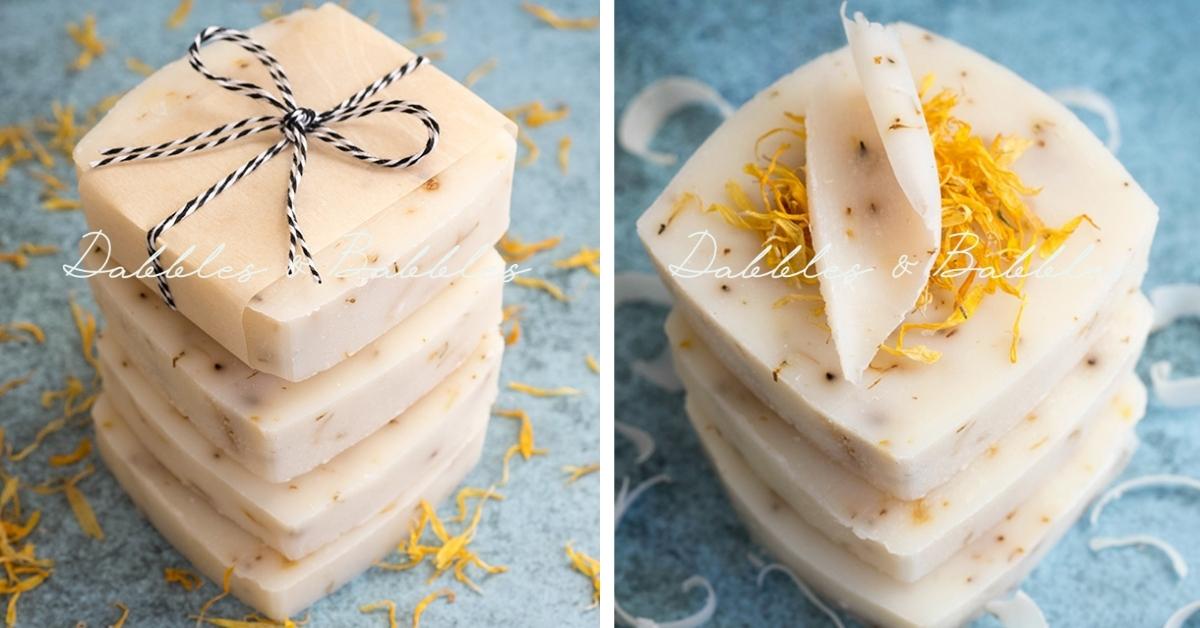
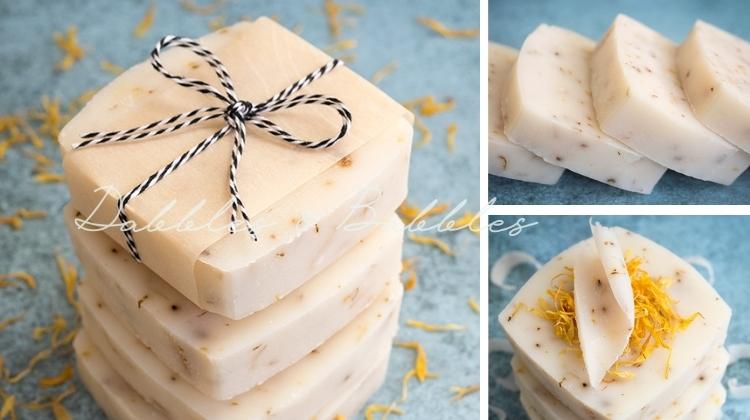
Natural Calendula Soap Recipe – This year for Christmas I gave all the ladies in my life handmade bath and beauty products. I really enjoyed making them and it felt good giving items that I knew were all natural and free of harsh chemicals. One product I really enjoyed making was soap but, even though I made the soap from scratch, it came as a kit which was all perfectly measured out and ready to be made – it sort of felt like I was cheating. Luckily I have some pretty amazing, talented and resourceful people in my life including my friend Deborah who has been making her own soap since the late 90’s. She was kind enough to invite me over to her house last week to show me how she made her favorite recipe from scratch. She got this recipe from a basic soap making course she took many years ago. Deborah says that she’s tried many recipes but she always comes back to this one. It’s a simple recipe with only a few ingredients – great for people with skin allergies or sensitivities. In this particular recipe we’ve added dried Calendula. Calendula has a long history of use as a wound-healing and skin-soothing botanical. This beautiful yellow and orange flower is particularly good for cuts, scrapes, bruises, sunburns, irritated skin and acne. Even though Calendula is loaded with powerful skin-healing and anti-inflammatory properties, it’s gentle on most people’s skin.
 Natural Soap – Excellent Basic Moisturizing Soap Recipe
This recipe needs to be mixed at 135-140 degrees Fahrenheit. Makes approximately 3 lbs.
Ingredients: *note – measurements are done by weight and not volume for better accuracy.
- 12 oz. (350 grams) Coconut Oil
- 8 oz. (300 grams) Palm Oil (please, if possible, try to use a certified sustainable palm oil)
- 8 oz. (300 grams) Liquid Vegetable Shortening or Pure Canola Oil
- 139 grams Lye
- 4.9 oz. (356 grams) Cold Water (distilled or filtered if possible)
- 0.8 oz. (25 mL) Essential Oils or Fragrance Oil (EO’s are expensive so I don’t use nearly that much although you need at least 50 drops of EO if you want to smell the scent of the EO in the soap). Also I’d suggest leaving out EO’s or fragrance if the people using it have sensitivities.
- 1-2 tbsp. Dried Calendula Flowers (optional)
What you’ll need:
- Pyrex measuring cup
- Container to measure lye into
- Rubber gloves
- Safety goggles
- Large mixing spoon
- Stainless steel pot
- Kitchen scale
- Candy thermometer (2 if possible)
- Blender stick
- Soap mold (1 quart [1 litre] milk cartons work great if you don’t want to buy a proper mold – that’s what I use)
- Tea towels
- Chef’s knife
Directions:
- Weigh cold water and place in a Pyrex measuring cup.
- Weigh oils and/or fat into stainless steel pot. Place on stove-top and turn on heat to lowest setting and keep an eye on the temperature with your thermometer.
- Put on rubber gloves and safety goggles and carefully measure lye into a container. Pour into water while stirring with spoon – mix carefully and avoid splashing (important – always pour the lye into the water and not the water into the lye – this can cause a mini explosion). Avoid inhaling fumes – stir until lye is completely dissolved. Place thermometer in lye – making sure that it is suspended in the liquid and not resting on the bottom of the container
- If you used cold water to mix your lye, it should now be somewhere around 150 degrees Fahrenheit and will be starting to cool. The object is to bring the lye and the oils simultaneously to a temperature in the range of between 110 – 120 degrees Fahrenheit. As long as they are both at the same temperature you should have no trouble getting your mixture to “trace”. Tracing refers to the soap mixture’s ability to hold a design on its surface.
- Start to mix the oils at a low-speed with the blender stick. Pour the lye into the mixture in a steady stream being careful not to splash. When the lye has been emptied into the pot continue stirring. Test for tracing by turning the blender stick off and lifting out of the mixture and drizzling across the surface of soap. When the lines hold their form momentarily, you are ready to add scent and calendula flowers if you want to. *If adding scent, coloring or inclusions you must work quickly as your soap will begin to set up quickly at this stage and you need to get it into a mold!
- Pour mixture into mold then wrap mold in tea towels to keep the soap as warm as possible. Put container in a safe place out of drafts and let it sit for at least 12 hours before checking (This is the hardest part about soap making – no peeking!)
- After 24 hours check your soap. It’s ready to remove from the mold when it has cooled and is completely opaque. If after 24 hours it’s solid but still quite soft, place in the freezer until frozen solid. When solid, tear away sides of the carton to reveal your gorgeous creation. Cut into bars using a large chef’s knife and allow to cure for 3 weeks before use (although it can be used before then – it just won’t last as long).
Download the Natural Calendula Soap Recipe HERE.