To Get The Full Written PDF of This Pattern. Go Here
As much as I try to deny it, the cooler weather is here and winter is on the way. I’ve been wanting to design a new pair of crochet fingerless gloves for a while now, so I guess there’s no better time.
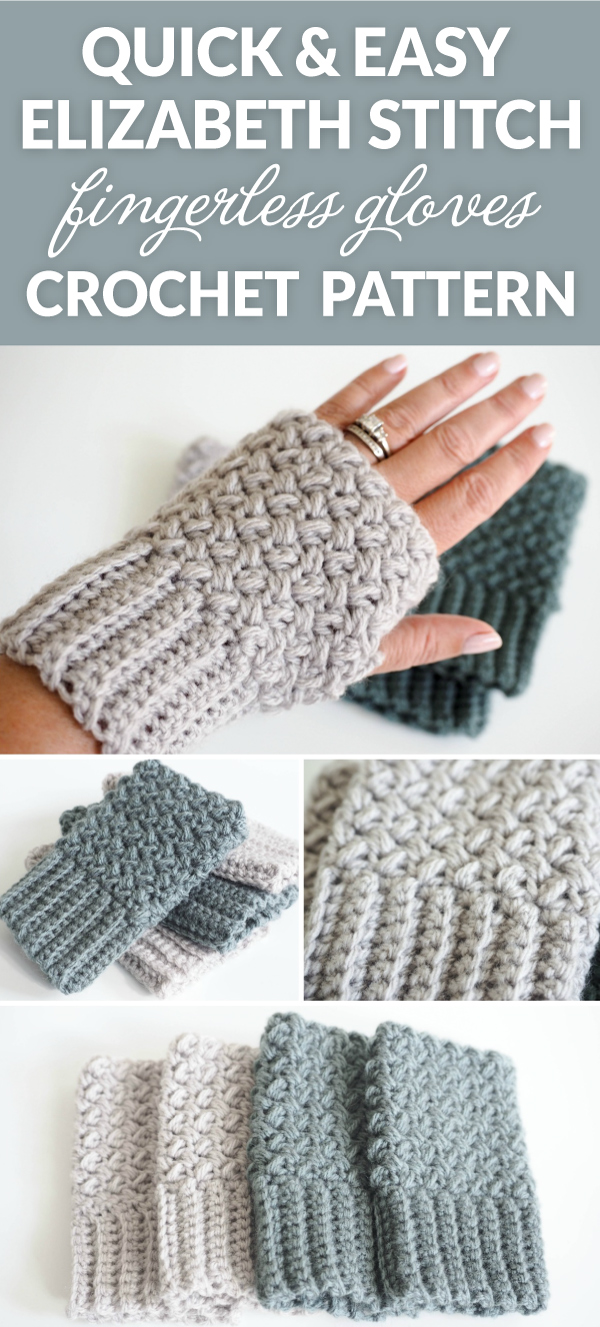
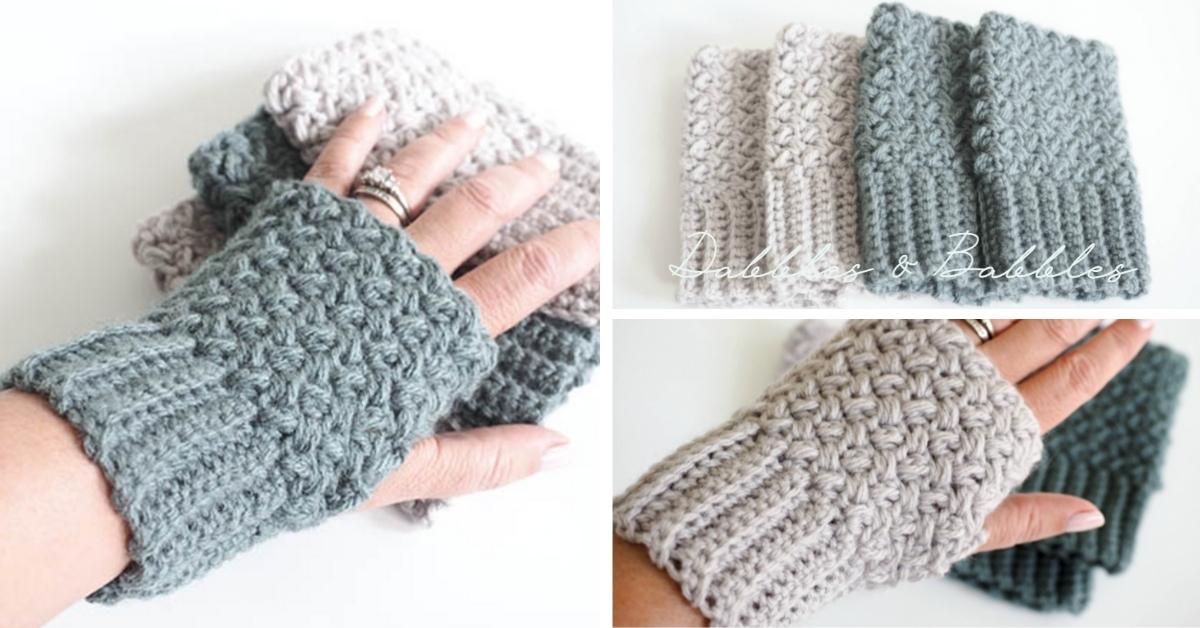
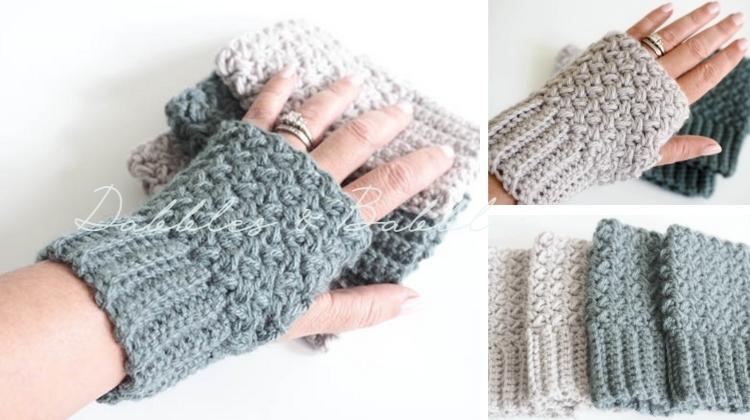
Fingerless gloves are my go-to these days as I find I’m constantly needing my phone to check email, respond to texts and deal with business matters. These gloves help to keep a large portion of your hand warm while giving your fingers a little more freedom.
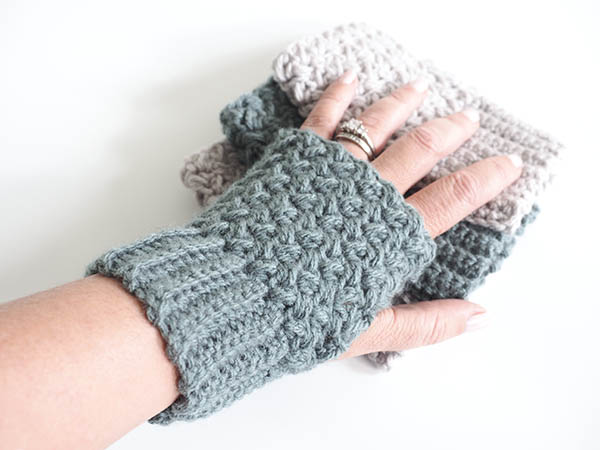
Keep your hands cozy on a chilly day with these gloves. I’m calling this the “Elizabeth” fingerless glove pattern as this crochet pattern uses the Elizabeth stitch. You may remember that I created a stitch tutorial a couple of weeks ago showing you how to create this beautiful stitch – see the tutorial here.
Love interesting crochet stitches like the Elizabeth Stitch? What if you could have 45 unique crochet stitches at your disposal? Check out the Ultimate Crochet Stitch Library. With the Ultimate Stitch Library, you'll have all the stitches you need to crochet anything you've ever wanted to. These are the foundational stitches for the majority of patterns out there!
These crochet gloves are quick to make, taking only a 2 -3 hours to complete. They are the perfect accessory to complete any outfit. With the holidays on the way, they also make a thoughtful handmade gift to give to your friends and family.
This Easy Elizabeth Stitch Fingerless Gloves Crochet pattern is also quite adaptable – experiment with different yarns and colors.
Easy Elizabeth Fingerless Glove Crochet Pattern
To Get The Full Written PDF of This Pattern. Go Here
Skill Level: Easy
Yarn: 400 yds DK weight yarn
Materials:
- Hook: Size 7 / 4.5mm crochet hook Scissors
- 2 Stitch Markers
- Yarn Needle
Finished Dimension: 4” wide x 5.5” long
Size: 4” wide x 5.5” long
Pattern written in U.S. terminology
| ABBREVIATIONS | DESCRIPTION |
|---|---|
| ch | Chain |
| sl st | Slip stitch |
| sc | Single crochet |
Special Stitch – Elizabeth Stitch:
Insert your hook into next stitch, pull up a loop, yarn over, insert your hook into the same st and pull up another loop, yarn over and pull through all four loops on the hook, ch-1.
To Get The Full Written PDF of This Pattern. Go Here
Looking for more great crochet patterns: Heart Graphghan Baby Blanket Crochet Pattern, Moss Stitch Cowl, Ombre Textured Blanket, Lily Cowl, Geometric Basket Crochet Pattern, Color Block Backpack, Primrose Dishcloth, Color Block Bag Crochet Pattern, Round Crochet Bag Pattern