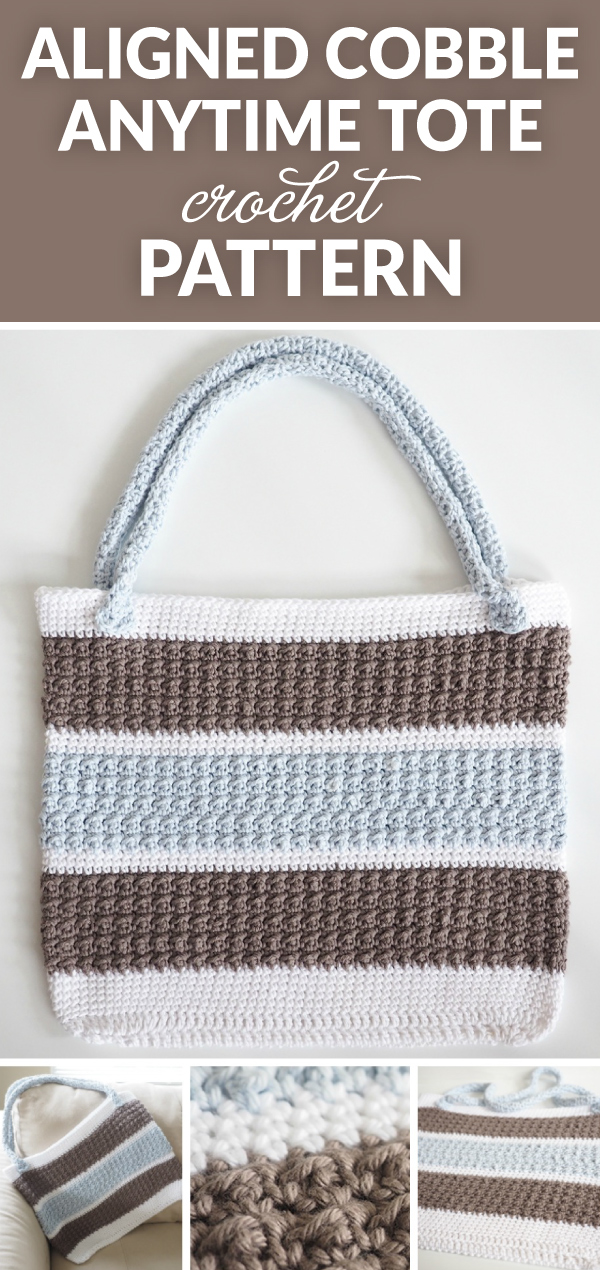
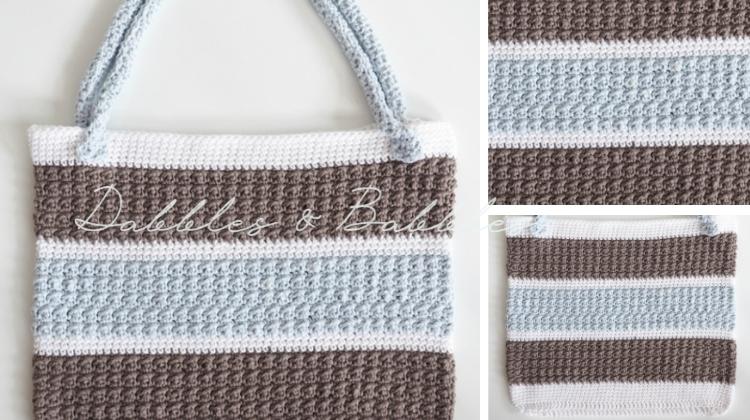
One more tote bag, anyone? You'll absolutely love this pattern! It's spacious and sturdy enough to pack your daily essentials (or crochet project on the go!), so you won't have to worry about breakage. So grab your hooks and yarns and stitch it up with the free pattern below or get your ad-free printable PDF patterns here.
There are just some things you can never have enough of and totes fall perfectly into that category. I always like to have extra totes around for shopping, going to the beach, taking drinks and snacks with me while I watch my daughter at her gymnastics competitions, and taking my latest crochet project with me wherever I go.
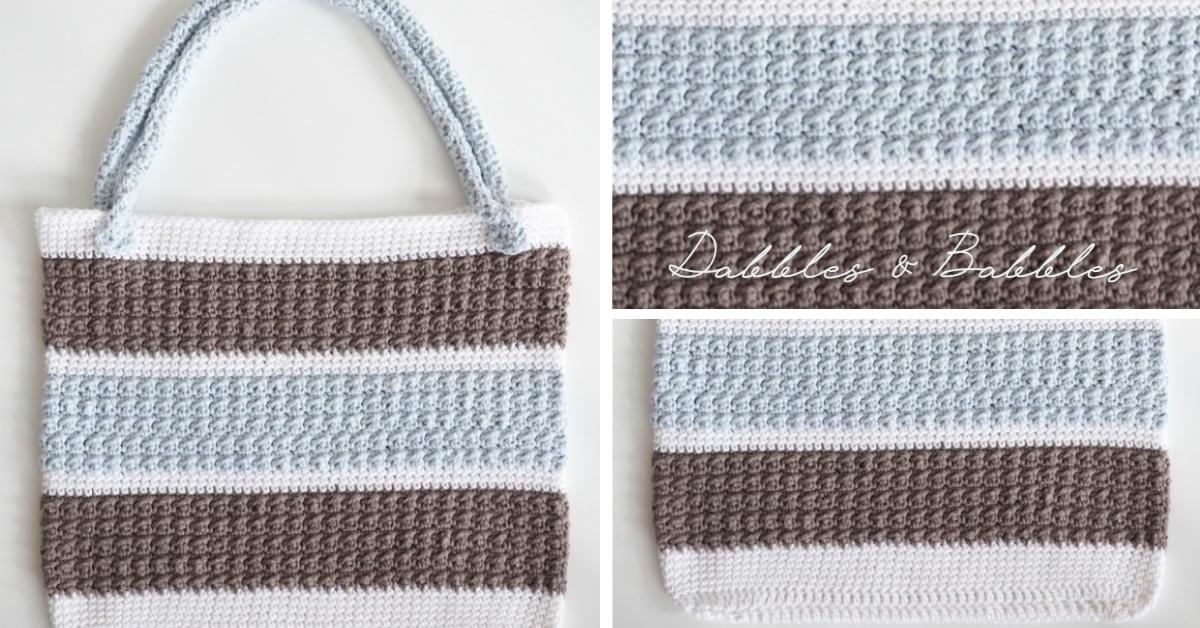
This crochet tote is a perfect size to stash towels, magazines, lunch, or whatever you want to fill it with. The tighter crochet stitch pattern means you don't have to worry about losing hooks, pencils, or other small items out the sides.
Learn 45 new crochet stitches in my Ultimate Crochet Stitch Library and customize this bag with any of your new favorite stitches! It's super to learn these with my step by step video tutorials! Check out my full crochet stitch collection here.

If you're looking for the perfect anytime crochet tote pattern, this is definitely it.
Learn how to make this beautifully crocheted tote below but first, learn how to make this pattern and almost any other pattern you can think of using just the simple rectangle! You heard me right you can literally Crochet Anything With Just Rectangles! Check out my online video crochet along course here to learn just how!
Aligned Cobble Stitch Anytime Tote Crochet Pattern
NOTES: Pattern in U.S. crochet terminology
SKILL LEVEL: Easy/Intermediate
MATERIALS:
• Hook
– US Size I/9 (5.5 mm) crochet hook or size needed to obtain gauge
• Yarn: Worsted weight yarn
– 180 yds white (A)
– 250 yds brown (B)
– 180 yds blue (C)
Get your ad-free printable PDF patterns here
• Notions:
– Scissors
– Yarn needle
– Stitch marker
– 54 inches of 3/4 inch thick nylon rope
Size:
• Width: 17 inches
• Height: 14 inches, not including handles
Gauge:
13 sc x 14 rnds = 4 inches
| ABBREVIATIONS | DESCRIPTION |
|---|---|
| ch | Chain |
| dc | Double crochet |
| hdc | Half double crochet |
| RS | Right side(s) |
| sc | ,Single crochet |
| sl st | Slip stitch |
| st(s) | Stitch(es) |
| tr | Teble crochet |
| WS | Wrong side(s) |
Pattern
Bag
Join rnds where indicated with a sl st in the first st of the rnd.
With A, ch 41
Rnd 1 (RS): Dc in 4th ch from hook (skipped chs count as first dc), dc in each of next 36 chs, 7 dc in last ch, working in opposite side of ch, sc in each of next 37 chs, 6 dc in last ch, join. (88 dc)
Rnd 2: Ch 3 (counts as dc throughout), do not turn, dc in first st, 2 dc in each of next 2 sts, dc in each of next 31 sts, 2 dc in each of next 13 sts, dc in each of next 31 sts, 2 dc in each of next 10 sts, join. (114 dc)
Rnds 3-8: Ch 1, do not turn, sc in each st around, join. (114 sc) Change to B.
Rnd 9 (WS): Ch 1, turn, sc in first st, tr in next st, [sc in next st, tr in next st] around, join. (57 sc, 57 tr)
Rnd 10 (RS): Ch 1, turn, sc in each st around, join.
Rnds 11-18: Repeat rnds 9 & 10 4 times more. Change to A.
Rnds 19-21: Ch 1, do not turn, sc in each st around, join. (114 sc) Change to C.
Rnds 22-31: Repeat rows 9-18. Change to A.
Rnds 32-34: Ch 1, do not turn, sc in each st around, join. (114 sc) Change to B.
Rnds 35 – 44: Repeat rnds 9-18. Change to A.
Rnds 45 – 50: Ch 1, do not turn, sc in each st around, join. (114 sc) Fasten off.
Get your ad-free printable PDF patterns here
Cut Rope
Cut nylon rope in half, making 2 pieces approximately 27 inches long each. Set aside.
Handles (make 2)
With C, ch 6, leaving a long starting tail.
Row 1: Hdc in 2nd ch from hook and in each ch across. (5 hdc)
Row 2: Ch 1, turn, hdc in each st across. Repeat row 2 until work measures 32 inches long. Fasten off.
Lay 1 piece of rope in center of handle, so that handle extends approximately 2.5 inches past rope on each end.
Using a separate piece of yarn for sewing, fold edges of handle around rope and sew together into a tube, only where it covers the rope. Leave the extra 2.5 inches unseamed at each end. This creates a flat tab at each end that will be used to attach the handle to the bag.
Finishing
Lay bag flat with RS out.
Place one handle on top of the bag so that it is centered horizontally and the flat tabs overlap the top of the bag. Use the long tails to sew each flat tab in place.
Turn bag over and repeat for the other handle, lining it up with the first handle. Weave in all ends.
Get your ad-free printable PDF patterns here
Looking for more great crochet bag patterns: the Crochet Beach Bag Tote Pattern, the Color Block Bag Crochet Pattern, Round Crochet Bag with Tassels