
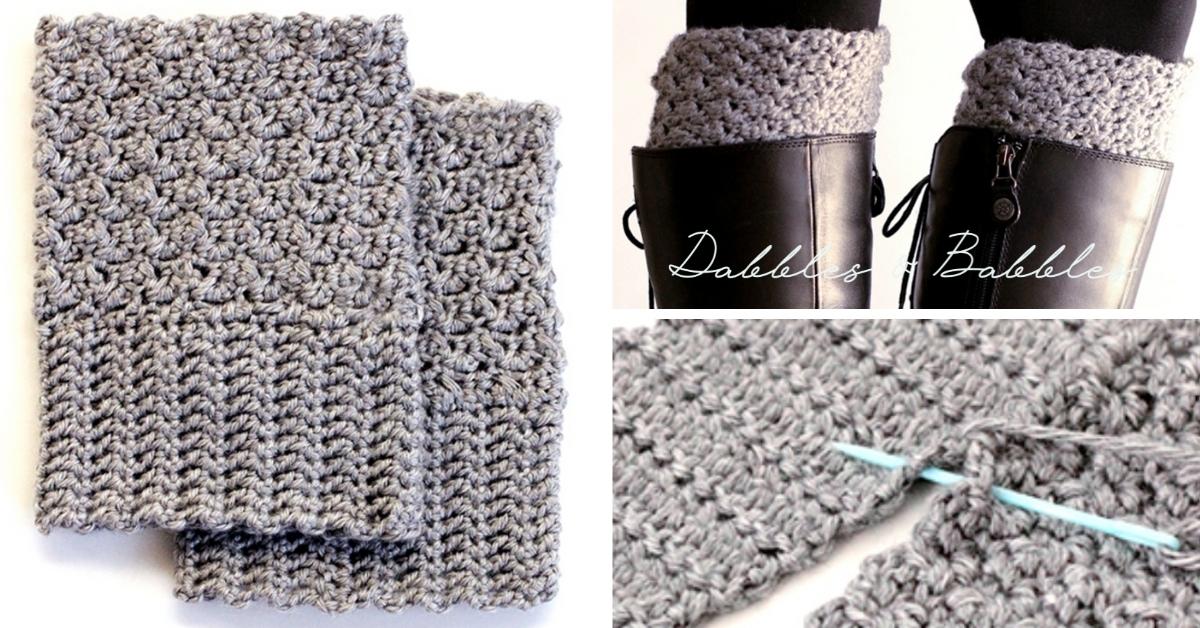
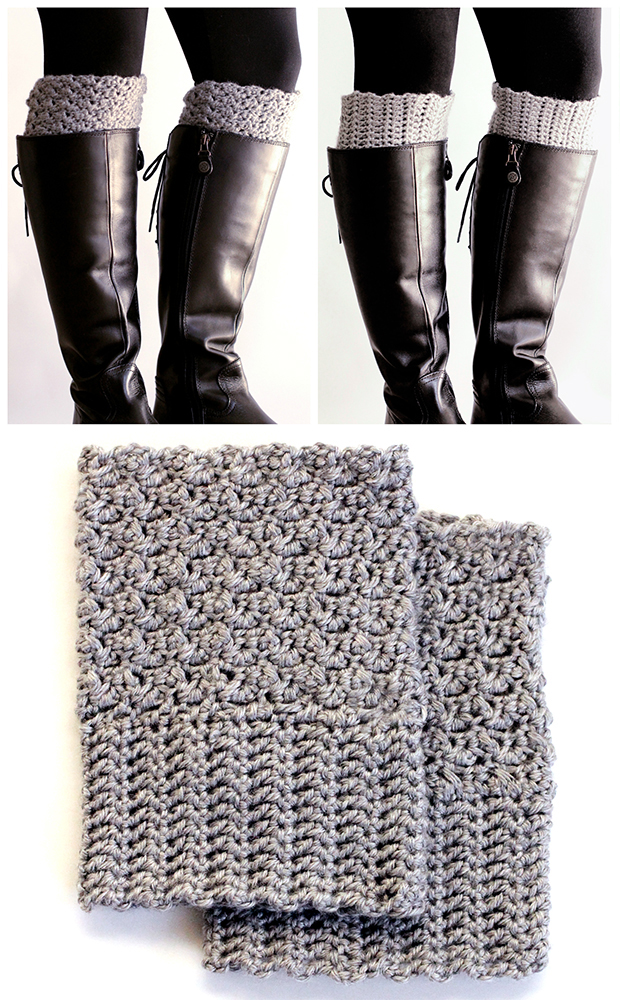
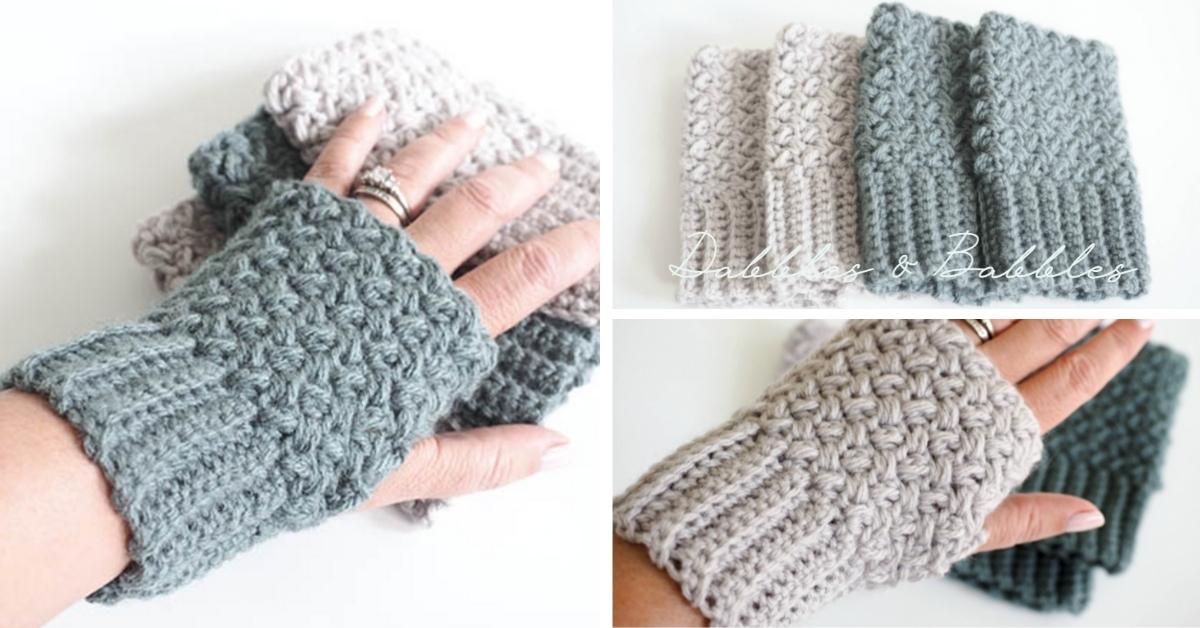
Here's a great way to accessorize without breaking the bank! Show off your boots with the great 2-in-1 pattern. Pick a yarn color that matches your boots and rock that style that matches your mood. See the free pattern below or better yet, get the ad-free printable PDF pattern here.
One of my very favorite things about this time of year is being able to break out my boots. Over the last season or two, boot cuffs or boot toppers have really become popular and rightfully so, they really help showcase your beautiful boots.
I've been wanting to purchase some boot cuffs for a while now but haven't found anything fabulous so I decided just to make my own instead. Crochet boot cuffs are such an understated way to add a finishing touch to a cozy indoor or outdoor outfit.

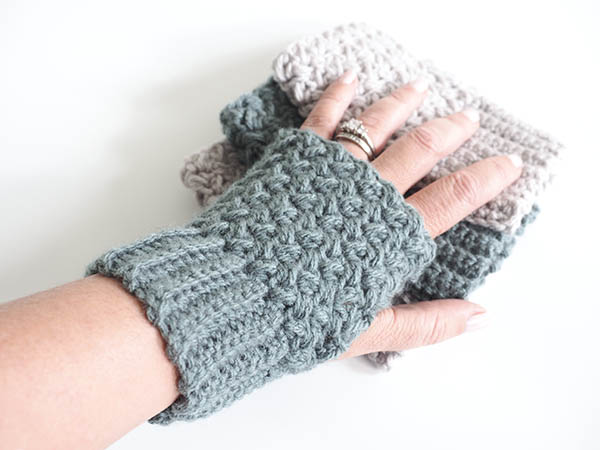
This is a great beginner crochet project and a perfect way to use up leftover yarn. And they’re so quick to work up, that you’ll want to make a pair in several colors!
Crochet boot cuffs are also a popular gift item. If you’ve been meaning to learn how to crochet boot cuffs, this simple pattern is a great crochet project to start with. You’re going to wonder why you didn’t start making them long ago!
Reversible Boot Cuff Pattern
Materials:
- A soft medium-weight yarn (130 yards total) – I used Red Heart Soft in Light Grey Heather.
- Crochet Hook – US J10/6 mm.
- Yarn or tapestry needle
- Scissors
Get the ad-free printable PDF pattern here
Basic Boot Cuff Directions:
Ch = chain, sl st = slip stitch, sc = single crochet, dc = double crochet, tr = treble crochet (U.S.)
Part 1: Ribbed side of the boot cuff
Ch 15.
Row 1: 1dc in the third chain from the hook and then one dc in every stitch until you’re at the end of the row. Turn.
Row 2: Ch 2. 1sc in each stitch until you’re at the end of the row. Turn.
Row 3: Ch 3. 1dc in each stitch across row. Turn.
Repeat rows 2 – 3 until you reached your desired length. Keep wrapping the piece around your leg in the knee/calf area to fit to the correct size. The cuff should be snug enough so that it doesn’t fall down your leg but not too tight that it’s difficult to get over your pants. For reference mine was 13 inches wide. If these are for someone else, you’ll want to measure their legs before you start making the cuffs.
Part 2: Textured side of the boot cuff.
Ch 18.
Row 1: 1sc in the second chain from the hook. *Tr in the next chain, sc in the next chain*, rep * until end of row. Turn.
Row 2: Ch 3, *tr into the sc from the previous row, next sc into the tr from the previous row*, rep * until end of row. Turn. (tip: your tr should always be going into a sc stitch from the previous row and your sc should always be going into a tr from the previous row).
Repeat Row 2
Keep up this pattern until this piece is as long as the ribbed part of the cuff. Fasten off and weave in ends.
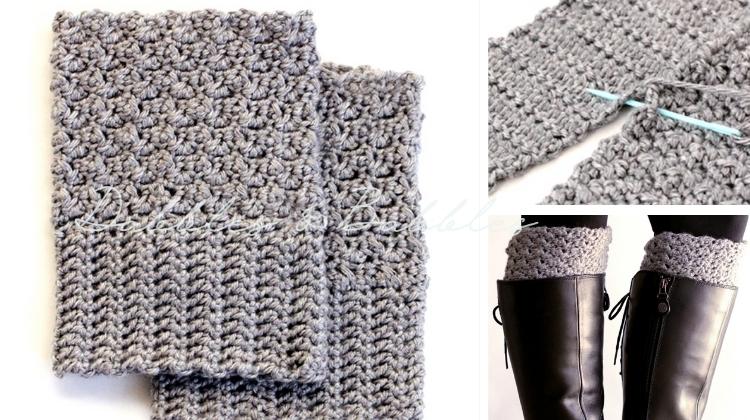
Now using your yarn or tapestry needle cut a long piece of yarn and carefully sew together the two parts of the cuff along the longest sides (see photo below). When the long side is complete, sew together the two short sides. Weave in any loose ends.
Follow the instructions above and create another boot cuff for the other leg.
Looking for more great crochet patterns: Crochet Fingerless Gloves, Done In A Day Baby Blanket, Easy Crochet Can Cozy, Tulip Textured Crochet Dishcloth, Colorful Solid Granny Square Dishcloth, Crochet Beach Bag, Outland Cowl, Caps for a Cause, Crochet Infinity Scarf, Crochet Cat Bed, Crochet iPhone Case, Easy-Peasy Crochet Beanie