Crochet Stitch of the Month – The Elizabeth Stitch
I’m really excited this week to share a new type of crochet blog post that I’ll be posting each month. I’ll be highlighting certain crochet stitches every month that I think are worth learning.
One of my favorite things about crocheting is learning basic crochet stitches and figuring out how I can implement them in my patterns. I’m always on the search for new but easy stitches, just like the Elizabeth stitch.
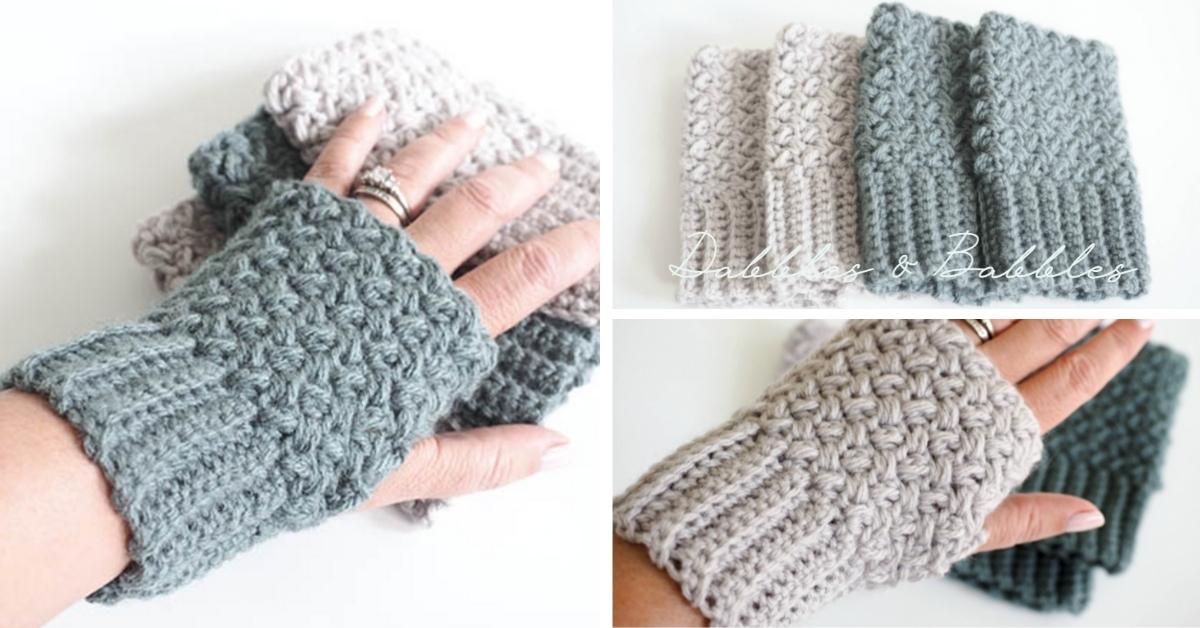
Over the last few weeks, I’ve shared some crochet projects with you that incorporate the Elizabeth stitch along with some detailed stitch pictures. The first project I shared was the Easy Elizabeth Stitch Fingerless Gloves. Following that we did the Elizabeth Stitch Crochet Hat Pattern and finally the Elizabeth Stitch Boot Cuffs.
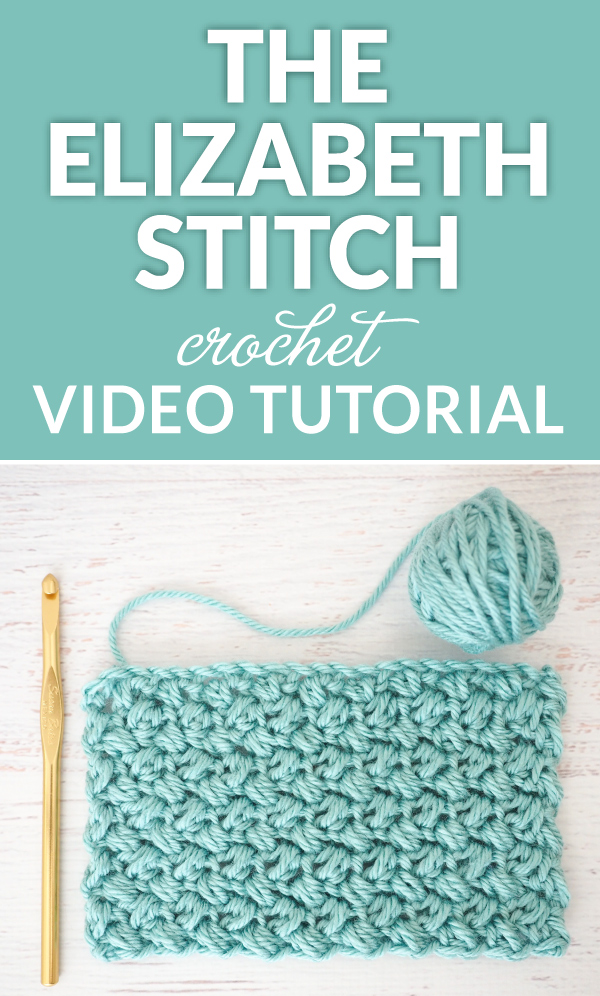
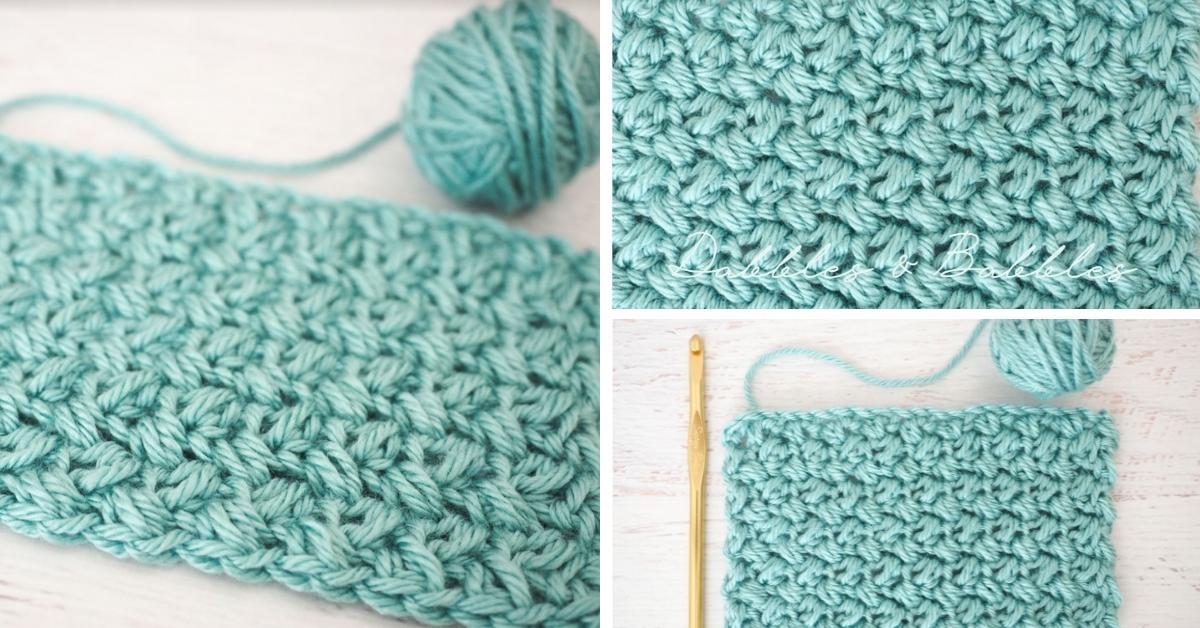
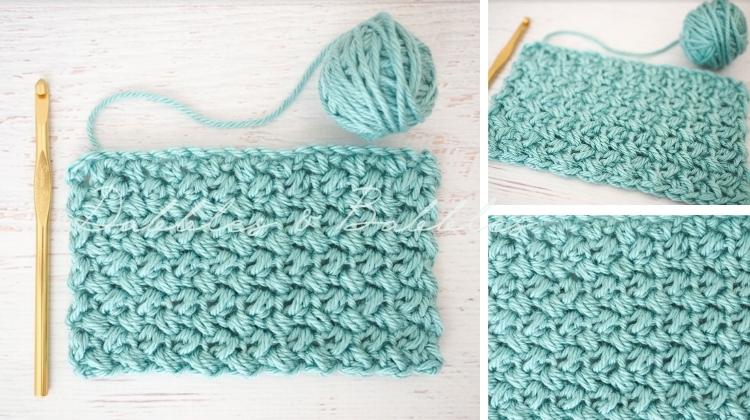
While there are many different crochet stitches I love, the Elizabeth stitch is absolutely beautiful in my opinion. From my research, I’ve also heard this referred to as the Mini Bean stitch (but I think the Elizabeth stitch sounds a little more refined and chic – befitting this gorgeous stitch). This is also one of the easy crochet stitches compared to others out there. Which is why I chose it for this crochet tutorial.
If you look in the crochet stitches tutorial, you’ll see that the stitch is sweet, elegant and has a gentle criss-cross look to it. I also love the slightly bumpy texture. More importantly, it’s a really fun and easy stitch to work up and once you get going, you’ll be able to do it in your sleep. This is the perfect crochet tutorial for beginners.
Elizabeth Stitch
Start by chaining multiples of 2 + 4 to the desired length.
Row 1: Insert your hook into the 4th chain from the hook and pull up a loop, yarn over, back into the same stitch and pull up another loop, yarn over and pull through all four loops on the hook. *ch1, skip 1 ch, insert your hook into next stitch, pull up a loop, yarn over, back into the same stitch and pull up another loop, yarn over and pull through all four loops on the hook. Rep from * until the end of the row, turn.
Row 2: ch 3, *insert your hook into first ch 1 space, pull up a loop, yarn over and back into same space, pull up another loop, yarn over and pull through all four loops on the hook, ch 1; repeat from * across the entire row with the last stitch being worked under the turning chain, turn.
Continue Row 2 until you have reached the desired length for your project.
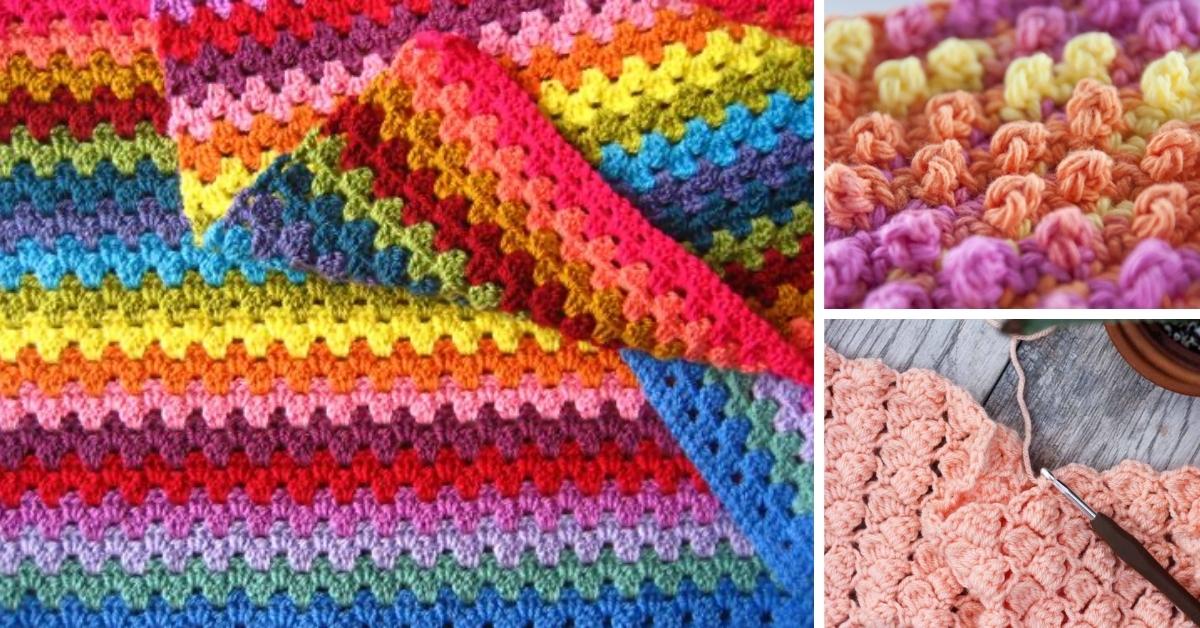
Looking for more great crochet stitch patterns: the Primrose Stitch, the Aligned Cobble Stitch, the Cross-Over Block Stitch, and the Star Stitch Crochet tutorial.
Glenda
September 30, 2017 at 7:30 AM (3 years ago)Cannot wait to see a project using this stitch!! Baby blanket??
Claudia
May 25, 2019 at 3:23 PM (2 years ago)Glenda have you tried this stitch yet?
MCHAMMER
November 14, 2020 at 2:08 PM (2 months ago)Like it will use it for that two
PAULINE
October 20, 2017 at 10:59 PM (3 years ago)Hello Jamey
I would just like to thank you for your instructions for the Elizabeth stitch. They are very well written, easy to follow and have worked up beautifully. Once again, thank you.
Kind regards
Pauline
PS I am making the mitts for my daughter who is living in the UK.
Jo
November 22, 2017 at 9:44 AM (3 years ago)I have a question. If you used this for fingerless gloves, did you work it back and forth like the tutorial or in the round…connecting the chains??? If so, does the pattern still maintain the criss-cross look?
Carol
November 22, 2017 at 2:52 PM (3 years ago)How do you increse and decrese
Anna Woolley
January 1, 2018 at 8:58 PM (3 years ago)I have enjoyed this stitch. Easy to learn and quick to make a scarf.
pat
January 21, 2018 at 12:08 PM (3 years ago)what size hook ?
Anonymous
April 6, 2020 at 10:56 AM (10 months ago)Any
Tina
January 6, 2021 at 5:06 PM (2 weeks ago)Question – to make a really good sized blanket how many stitches would you recommend
Raquel
January 25, 2018 at 5:59 AM (3 years ago)Very classy look. Hope to try it for a baby blanket. Not sure how I would change colors. Any suggestions?
Elizabeth
February 4, 2018 at 1:48 PM (3 years ago)I have been crocheting for years and years and I had never heard of this stitch before! It’s so pretty. I can’t wait to make a project with it. Thanks for the tutorial!
Julie
March 13, 2018 at 8:35 PM (3 years ago)Jamey you do an amazing job at teaching this stitch – thank you!!
Deanna
May 2, 2018 at 1:53 PM (3 years ago)I love the way my blanket is looking.
Elizabeth
November 16, 2019 at 5:31 AM (1 year ago)Are you making a baby blanket? How many ch in your foundation? I want to make one also.
Elizabeth
November 16, 2019 at 5:32 AM (1 year ago)With the Elizabeth stitch
Gerrie
September 9, 2018 at 12:50 PM (2 years ago)I’m trying the Elizabeth stitch but having trouble with my hook pulling through all 4 loops, it gets stuck. Tried different size hooks. Using k 6.5 size now. Any help would be appreciated.
Shelby Wilson
December 19, 2019 at 3:33 PM (1 year ago)I had the same trouble but figured out if I turn my needle slightly to the back as I pull through it comes through smoothly. ❤️
Lindsay Schilling
November 3, 2018 at 4:37 AM (2 years ago)I Love this stitch; can’t wait to do the boot cuffs, a scarf and possibly cowls
Thank you!
Teresa
December 11, 2018 at 11:15 AM (2 years ago)Have you ever tried to use this stitch for a chevron style blanket? Curious how to do the multiplier to make it turn out right.
Heidi
January 23, 2019 at 1:35 PM (2 years ago)Thank you so much for the quick and pretty stitch! I was having a hard day and now I’m happy to have something pretty to work on…
Lacy
February 2, 2019 at 2:57 PM (2 years ago)How much yarn do I need for a blanket with this stitch
Anonymous
February 7, 2019 at 12:50 PM (2 years ago)[email protected].
My question is when do I put the cuff on?? Before are after I make take the glove?? Is there any inst
Instructions for that?? I wanted to watch the video where you put on the cuff?? Are did I miss something?? I was watching for the cuff to be made ?? Thanks Jean
Teri Skelton
February 18, 2019 at 7:40 PM (2 years ago)Thank you… My oldest daughters name is Elizabeth and I am going to make her a scarf with this stitch. Thank you!!! Your video was so clear and easy to follow.
Bev
April 18, 2019 at 4:42 PM (2 years ago)How many chain does a baby blanket take?
Connell
August 1, 2019 at 12:15 PM (1 year ago)I learned this stitch years ago as a “mini bean stitch” and have used it for baby blankets in a sports weight yarn (3), which give a warm, thick and comfortable blanket. Never heard it called the ‘Elizabeth Stitch.”
Dina Wunderlin
October 18, 2019 at 3:07 PM (1 year ago)I am new to crochet and love this stitch. Items to stick with double crochet but ventured outside my comfort box and made this. Bob visting my parents in Wisconsin I wanted to buy something special yarn and bought my first hand dyed yarn. It of course needed a special stitch to match and love how my scarf turned out. Now to make the matching hat.
DeLana Seago
October 25, 2019 at 8:06 AM (1 year ago)I was wondering if I could do a blanket with the Elizabeth stitch but with different colors? I have 6 colors and was wondering what you thought….
Stella Day
February 12, 2020 at 5:51 AM (11 months ago)Thank you for this very clear to understand video. I love
this stitch and will try it today at my yarn club.
Lin
June 29, 2020 at 8:12 AM (7 months ago)Would it be possible to do this stitch int he round? It’s very pretty
Theresa
July 28, 2020 at 10:42 AM (6 months ago)I am a beginner here, I consistently grow my rows no matter how ardently I follow the directions, is there any hope for me to learn this beautiful stitch. Please help, btw my first row grew by 2 and my second row then grew by 4. I have pulled it out and restarted but get the same results. Please help.
Gratefully. Theresa
Margie Miller
August 17, 2020 at 2:51 PM (5 months ago)In the hat instruction, you state to make 89 rows for the ribbing then single crochet in each row. This doesn’t work out to the stitch requirement of “multiples of 2 plus 4. How can the pattern work?